
User Administration
Welcome to user administration
From this section of the client portal we can add or change users that are under out control as a company administrator.
First how do we access the user administration?
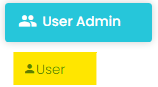
From the Dashboard we can select the "User Admin" within the navigation panel on the left side of the screen. If this is not visible like shown in the image below speak to your administrator to set you up with the permissions to see this.
Select "User Admin"
Select "User"
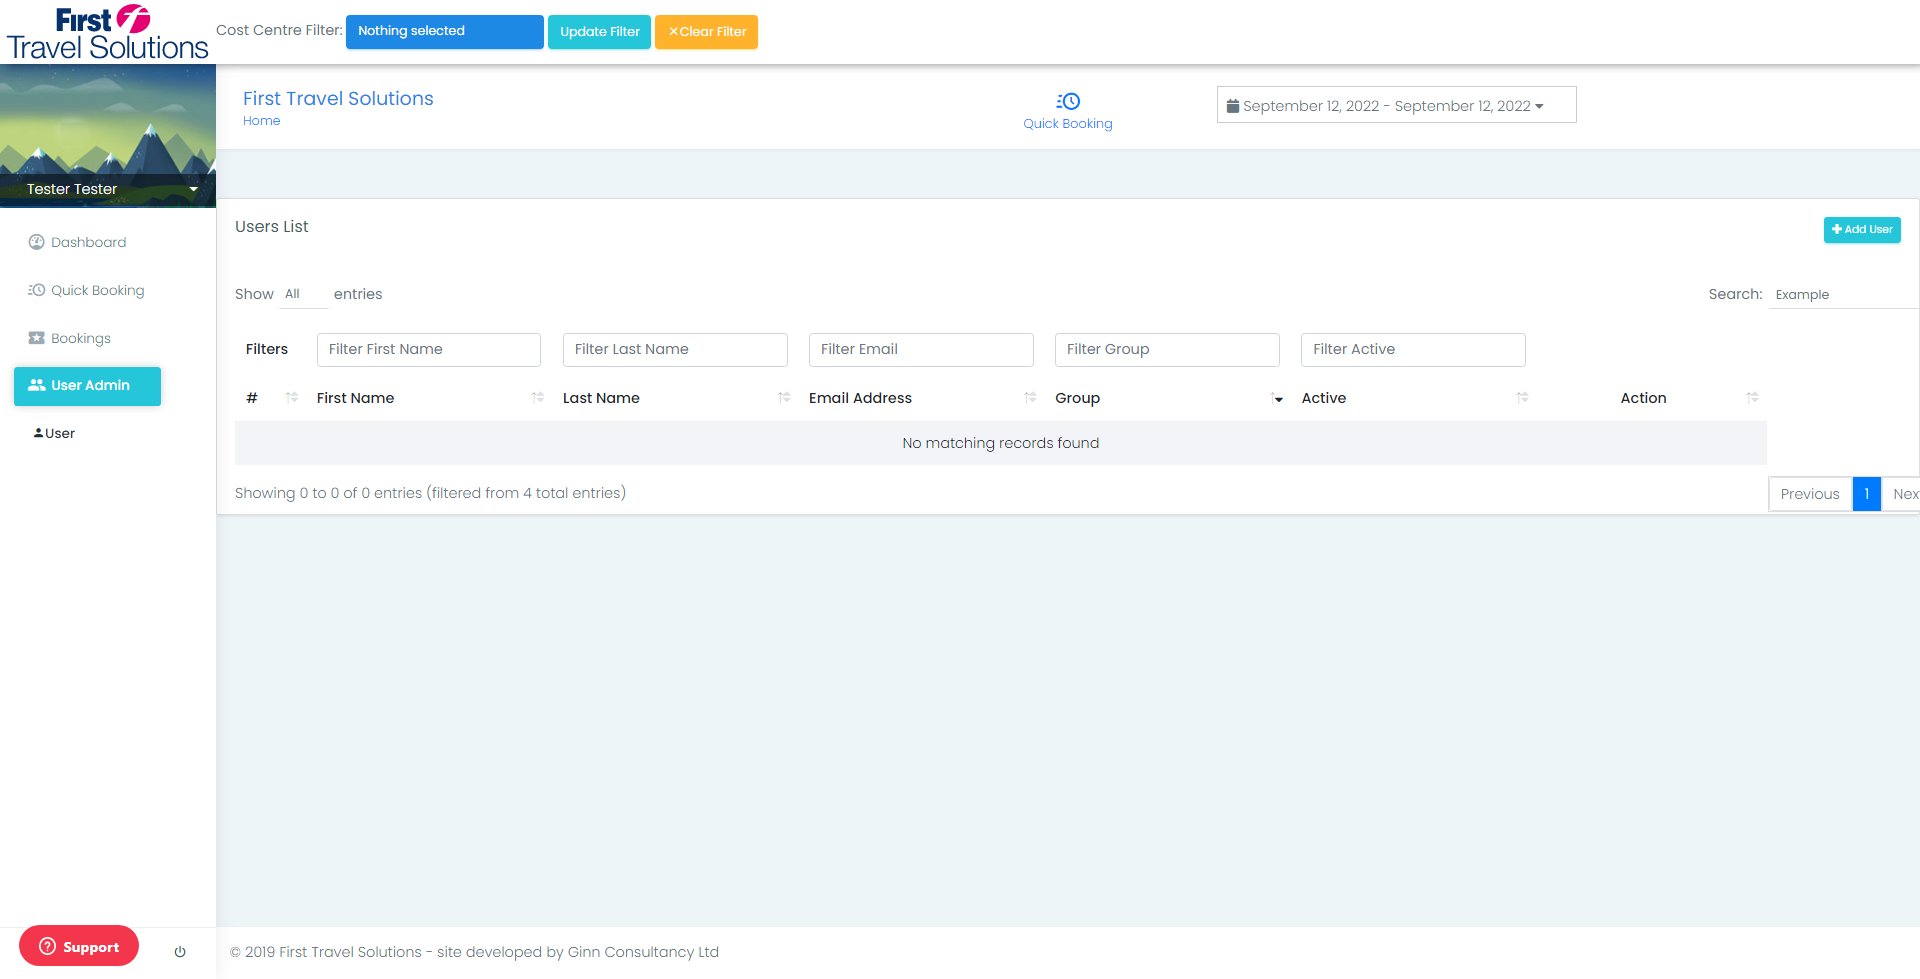
Now that we are in the administration section we may "Add" "Delete" or "Change" users as shown in the below sections.
|
|
|
|

Creating A User
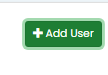
To create a new user we select the "Add User" button located on the right hand side of the screen.
Once selected a model will appear on the screen allowing us to progress further.
 |
 |
Model Introduction
Below is an image of the pop up model that we use to create a new user.
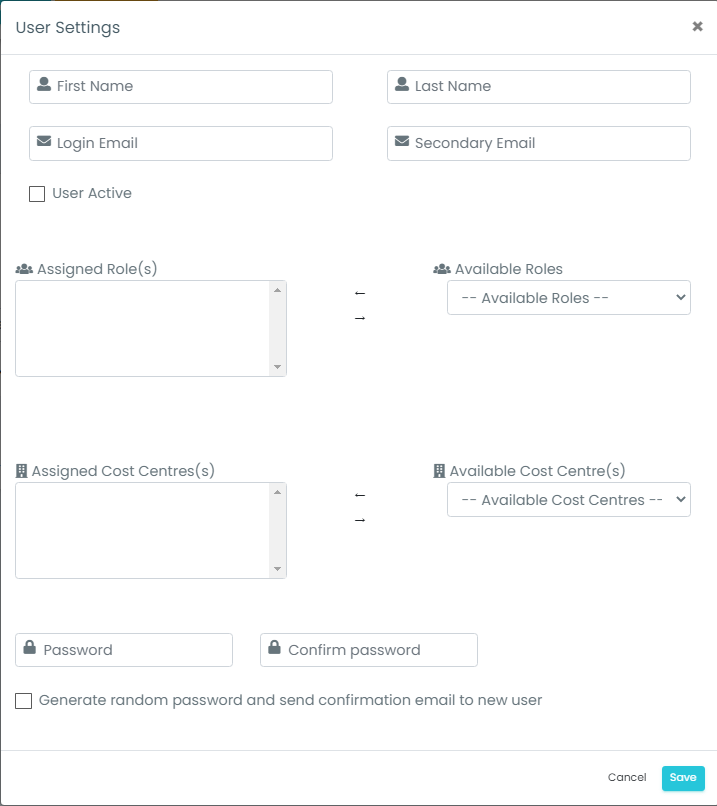 |
Fill the users name into the first name where the forename is filled and the last name section where the surname is filled.
|
|
|
|


Enter the Users official work email address in the Login Email address section.
The secondary email section allows for the user to have a group email also input, this is not intended to be for personal email addresses and we don't advise these being used. Instead it would allow for a workplace email used by multiple members of a team for example:
Support@Firsttravelsolutions.com
|
|
|
|


This checkbox will allow you to select if the user is active right away or inactive at this point in time.
If you have a new user coming onto the team in 2 weeks then we would recommend leaving this user as inactive (unchecked) until the user starts work.
|
|


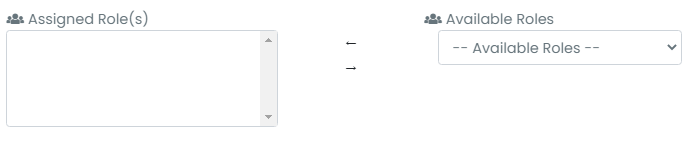
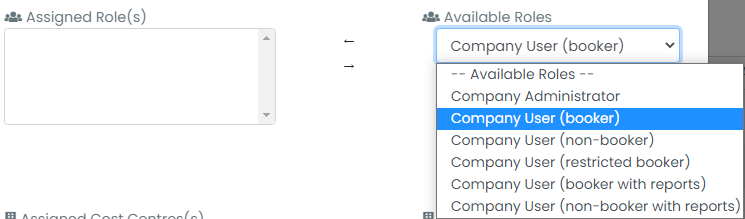
Role assignment allows for addition / removal of roles.
To add a role:
Select available roles drop-down
Select the role you wish to add
Select the arrow pointing to assignment
Please use the images below to help visualise the process if you need.
To remove a role:
Select the role on the left you wish to remove and click the arrow pointing right.
|
|
|
|
|
|
|
|


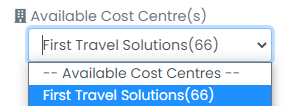
Cost Center assignment allows for addition / removal of Cost Centers.
To add a Cost Center:
Select available Cost Center drop-down
Select the Cost Center you wish to add
Select the arrow pointing to assignment
Please use the images below to help visualise the process if you need.
To remove a Cost Center :
Select the Cost Center on the left you wish to remove and click the arrow pointing right.
|
|


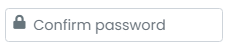
Creating a password,
Enter the password for the user you are creating, Re-enter in the confirm password section.
The second option here is to select the Generate Random Password box to make the system autogenerate a password.
|
|


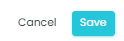
Select Cancel to delete the data you have entered or save to create the user.
 |
Editing A User
To edit a user we simply click the edit button shown in the images below.
To edit the user please follow the sections above with the creation process to show the details required for each section.
|
|


Comments
0 comments
Please sign in to leave a comment.